In order to use Read & Write with UCA accounts, you will need to install the Read & Write extension for Google Chrome. This is a two-step process: first, log in to Google Chrome, and second, install the extension.
Logging in to Google Chrome
The Read&Write extension must be used with the Google Chrome browser. You must also have your UCA email account user connected to, or logged into, Google Chrome.
NOTE: Logging in to the UCA network does not automatically connect your account to the Google Chrome browser.
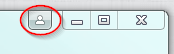
NOTE: If you see a name at the top right corner of the window instead of a user icon, this usually indicates that a user is already logged in to the Chrome browser. To disconnect the current user and login as yourself, start my clicking the Customize and control button (

). Click
Settings, and then click
Disconnect your Google Account. Click Sign Out to finish the process. When you disconnect a Google Account from Chrome, you will sign out of all open Google sessions belonging to that user, including Gmail.
- Open Google Chrome on your computer.
- Click the User icon located at the top of the window just left of the windows control buttons.
- Click the blue button Sign in to Chrome.
- Enter your UCA email, and then click Next.
- If required, enter your UCA email address and click the Next button. This is for logging in to Google services; if you are already logged in to your UCA Gmail account, you may not get this window.
- Enter your UCA username and password, and then click Log In.
- In the window that appears, click Create a new profile.
- Click OK, Got it.
- You are now signed in to Google Chrome. To make sure you are logged in to Chrome, click your name in the top-right corner of the Chrome window. You should see your name and UCA email listed.
Installing Read&Write for Google Chrome
Before installing Read&Write, you must ensure that you are logged in to the Chrome browser using your UCA email account. This extension will only work for users with email addresses that end with @uca.edu or @cub.uca.edu. For help with this process, follow the steps above.
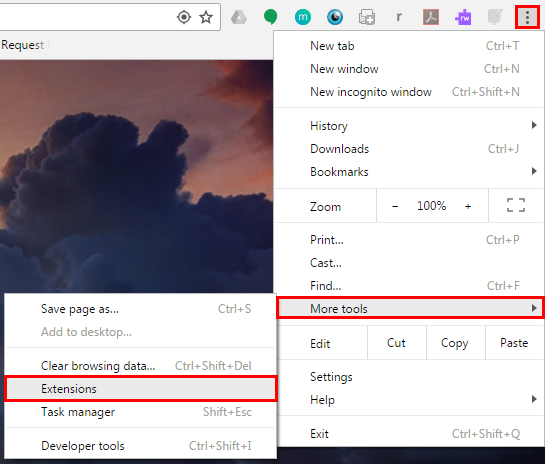

- Open Google Chrome and click the Customize and control button (). Roll the mouse cursor over More tools, and then click Extensions.
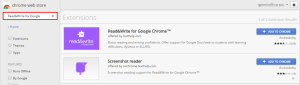
- Scroll to the bottom of the Extensions page, and then click Get more extensions. This will open the Chrome Web Store.
- Enter Read & Write for Google in the search field, and then press Enter on the keyboard.
- This search will return the results for Read&Write for Google Chrome and Screenshot reader. You will need to install these two extensions.
- Next to Read & Write for Google Chrome, click the blue Add to Chrome button. Click Add extension at the prompt. Once the extension has been added, a message will appear stating that the extension has been added successfully. This message will close automatically when you click anywhere within Chrome.
- Next to Screenshot reader, click the blue Add to Chrome button. Click Add extension at the prompt. Once the extension has been added, a message will appear stating that the extension has been added successfully. This message will close automatically when you click anywhere within Chrome.
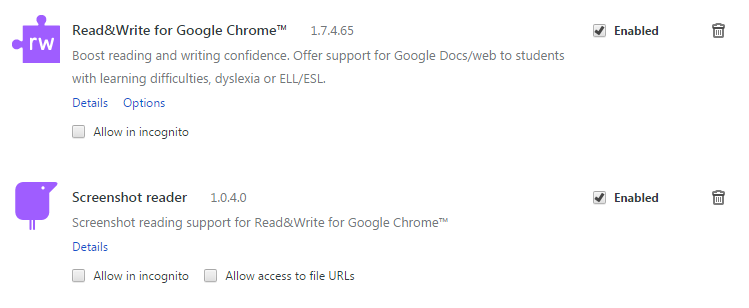
- Go back to the Extensions page (this should still be open in another tab in Chrome). You should see the two new extensions listed now.
- Close Google Chrome, and then wait a few seconds. Then, open Google Chrome again.
- Now that the extensions are installed, you must allow them to interact with UCA’s Google Workspace (formerly G Suite) applications. Start by clicking on the Read & Write extension icon (
 ) at the top of the browser window.
- If this is the first time you have used Read&Write with your UCA account, you will be prompted to allow the extension to access your account. Click the Allow button.
- If required, click the Read&Write icon () at the top of the browser window again.
- This will open the Read&Write toolbar.
Read & Write for Google Chrome can also be used to access items in our Google Drive. When you first access a Google Drive file, Google Doc, Google Slide, or a saved PDF document, you will need to allow Read&Write to access those items as well.