Create a link
- On the navbar, click Course Admin.
- Click Links.
- On the Manage Links page, click New Link.
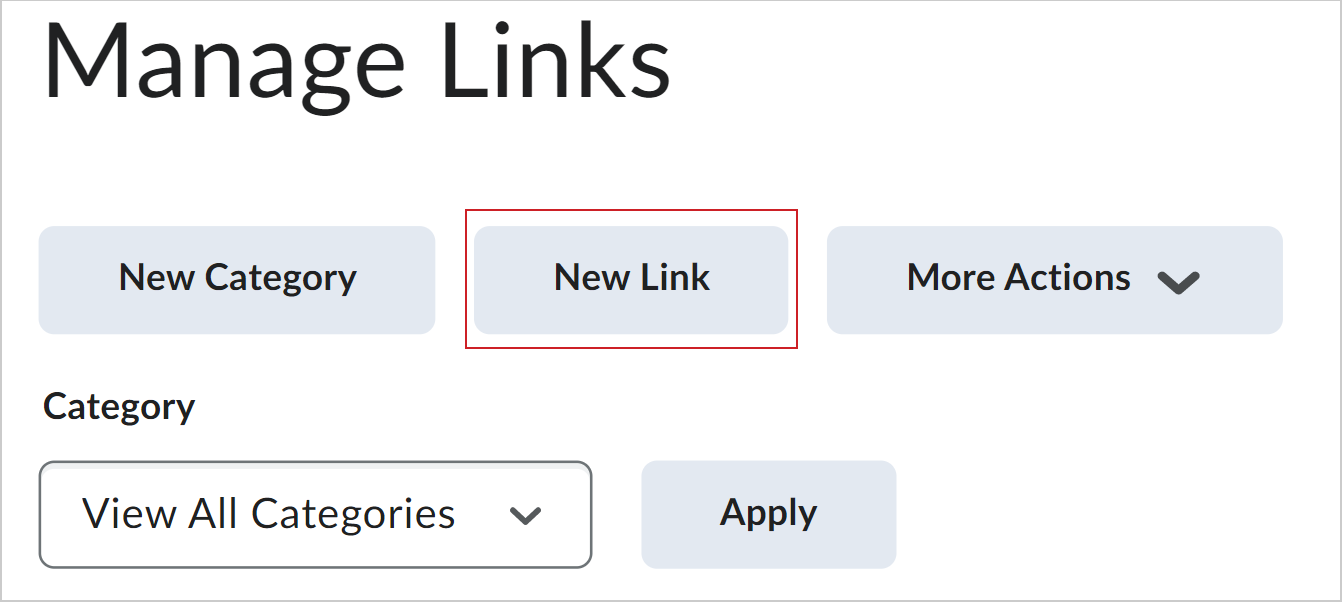
Figure: The New Link option on the Manage Links page.
- Do one of the following:
- To add your link to an existing category, from the Category drop-down list, select a category.
- To add your link to a new category, click New Category. Enter your category details. Click Save.
- Enter a title for your link.
- Do one of the following:
- To add an external link, in the URL area, enter the URL in the field provided.
- To add a quicklink, in the URL area, click the Quicklink icon. In the Insert Quicklink dialog, navigate to the link you want to insert.
- Click Save.
 |
Tip: Now that your link is created, you can insert it into your content Pages using Brightspace Editor's Insert Stuff. For more information, refer to About Brightspace Editor. |
Create a link category
- On the navbar, click Course Admin.
- Click Links.
- On the Manage Links page, click New Category.
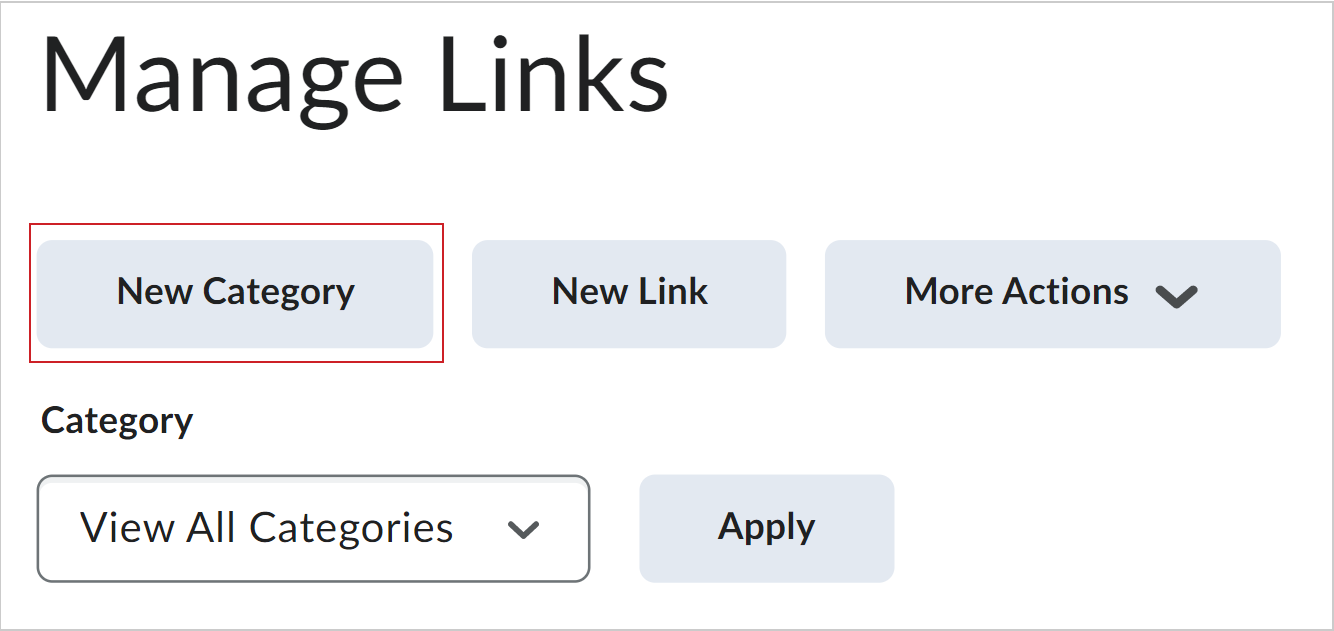
Figure: The New Category option on the Manage Links page.
- Enter your category details.
- Click Save.
Delete links and link categories
Deleting a category also deletes all the links in that category.
- On the navbar, click Course Admin.
- Click Links.
- From the Actions menu of the link or link category you want to delete, click Delete.
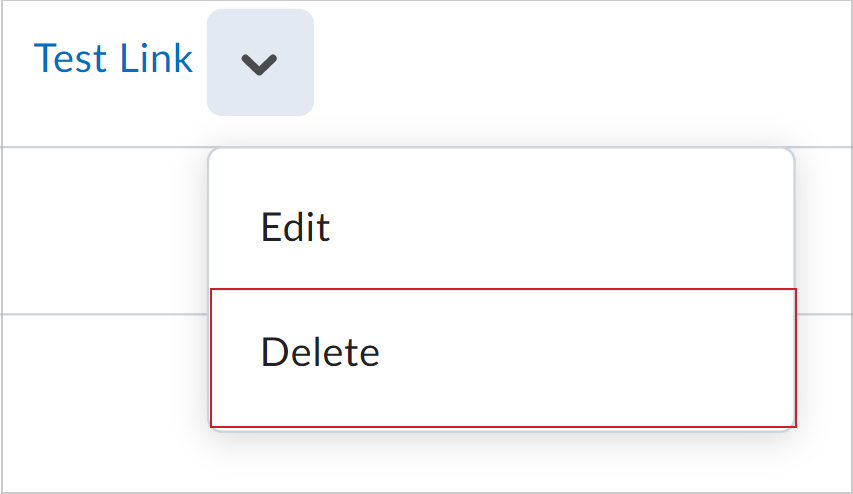
Figure: The Actions menu showing the Delete option for a link.