You can communicate with your learners in Brightspace using the Email tool.
To email others using the Email tool
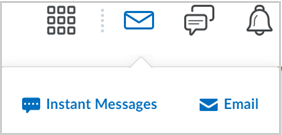
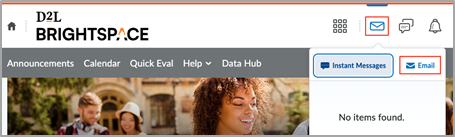
- On your organizational or course homepage, click the Message Alerts (the envelope icon) and then click Email.
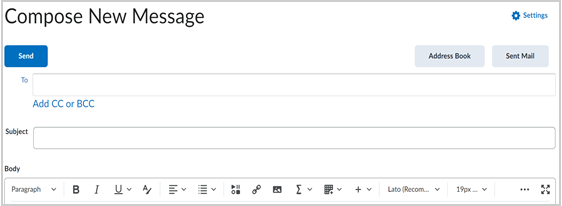
- Compose your message and add any attachments (if applicable).
 |
Note: The email message, attachments, and the number of recipients in the To, CC, and BCC fields count towards the email message size and cannot exceed 20MB.
The maximum number of recipients in the To and CC fields is 200; this limit is 3000 for BCC. |
- Click Send.
|
Note: If your email has 100 or more recipients, Brightspace processes the email as a background task. You can continue using Brightspace while your email sends. The status of your email is shown in the Sent Mail folder. |
Add and edit an email signature
Add an email signature to your emails to ensure that every message is personal and consistent.
To add an email signature
- On your organizational or course homepage, click the Message alerts icon and click Email.
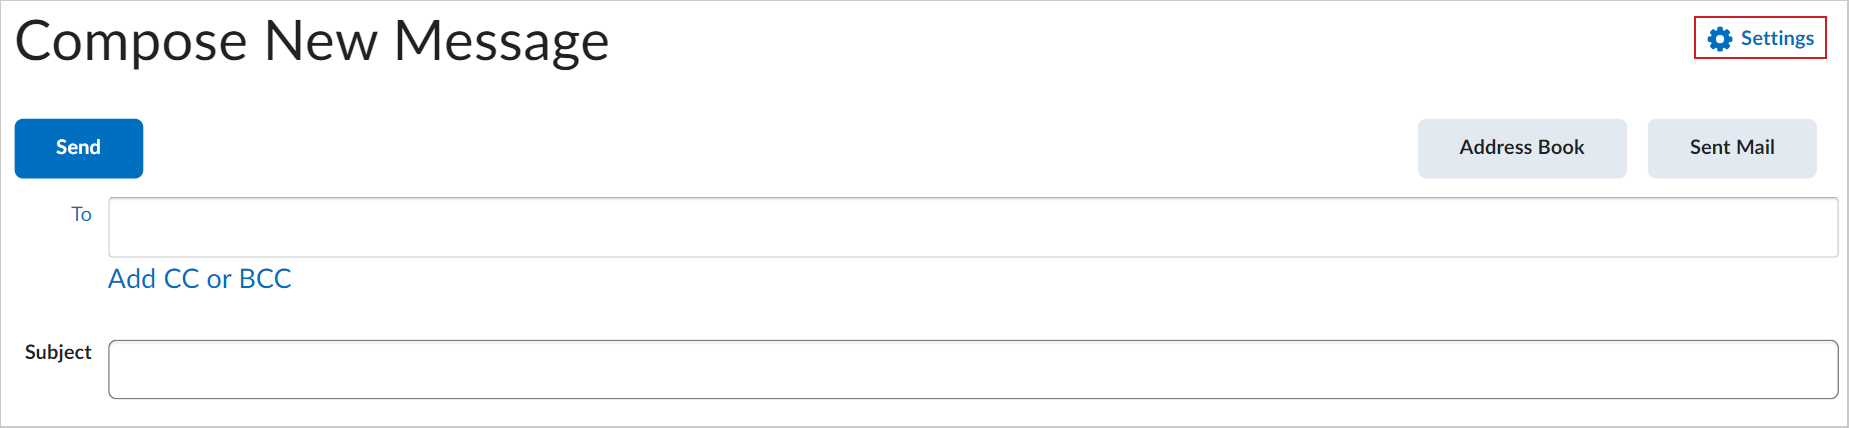
- On the Compose New Message page, click Settings.
- On the Email Settings page, in the Email Signature field, create your signature using Brightspace Editor.
|
Note: The Email Signature field has a maximum character limit of 65,535 characters. |
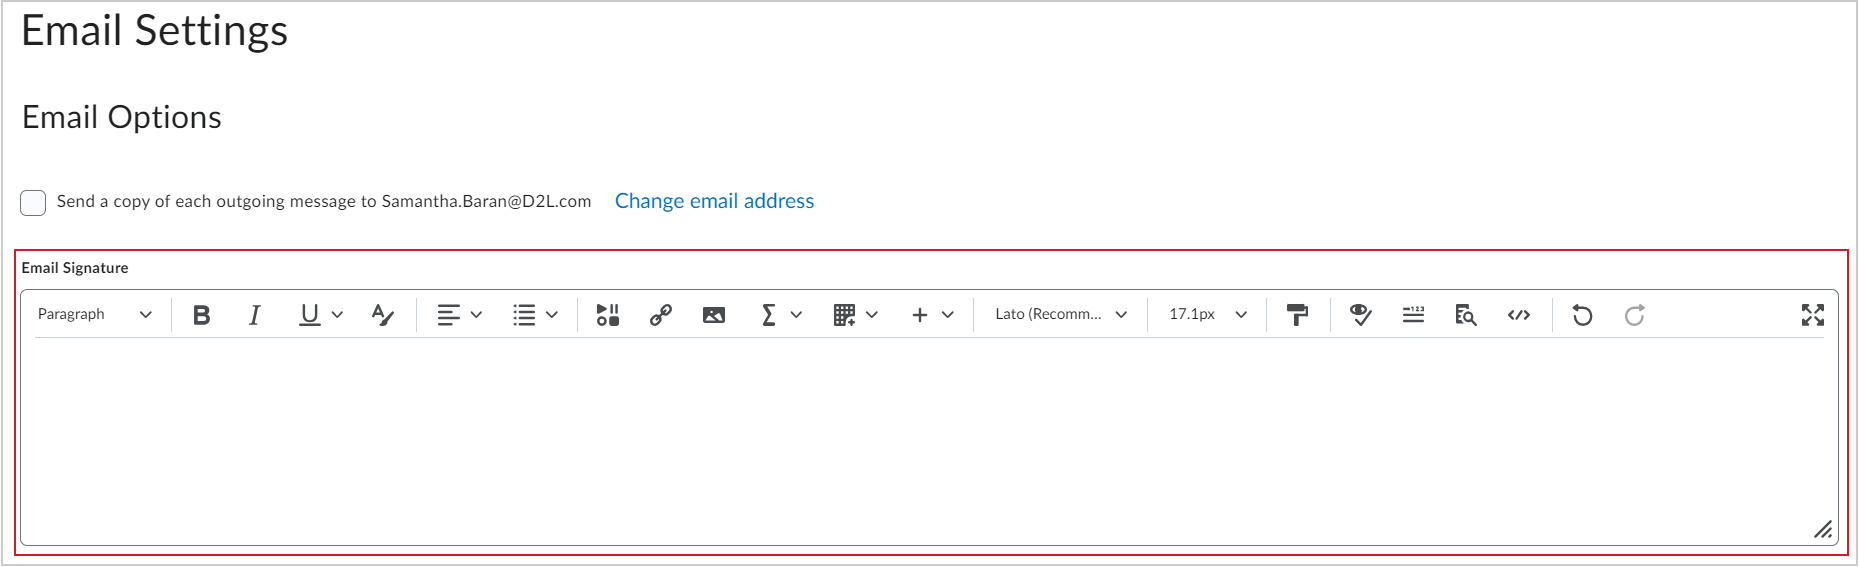
- Click Save.
You have created and added your email signature. Your signature appears at the bottom of the field when you compose a new message.
To edit an email signature
- On your organizational or course homepage, click the Message alerts icon and click Email.
- On the Compose New Message page, click Settings.
- On the Email Settings page, in the Email Signature field, change your signature using Brightspace Editor.
- Click Save.
You have edited your email signature.
Copy emails to your external email account
You can set up the Email tool to send a copy of any emails you send to your external email address. This requires validating your external email address.
If you have not yet configured an external email address for your account, refer to Change your account settings.
|
Note: An external email is considered any email outside of Brightspace, regardless of whether it is within your institution's domain or not.
|
To set up copying emails to your external email address
- Do one of the following:
- Click your username and navigate to Account Settings > Email.
- Click the Message Alerts (envelope) icon, and navigate to Email > Settings.
- Check Send a copy of each outgoing message to [external email address] and click Save. A validation email is sent to your external email address.
![The Send a copy of each outgoing message to [your external email address] on the Account Settings page.](https://us.v-cdn.net/6036482/uploads/3HLS3CEVOEFG/shield-9572-account-settings-option-en-us.png)
- In your external email inbox, click the Confirm Email Address link included in your validation email.
 |
Tip: If you lose or otherwise cannot find this email, click the (Not Verified - Click to Resend Verification Email) link. |
Your external email is now verified, and all sent emails in Brightspace will be copied to your specified email address.
FAQ
How do I see the emails I have sent?
- From your course homepage, click the Message Alerts icon and then click Email.
- Click Sent Mail.
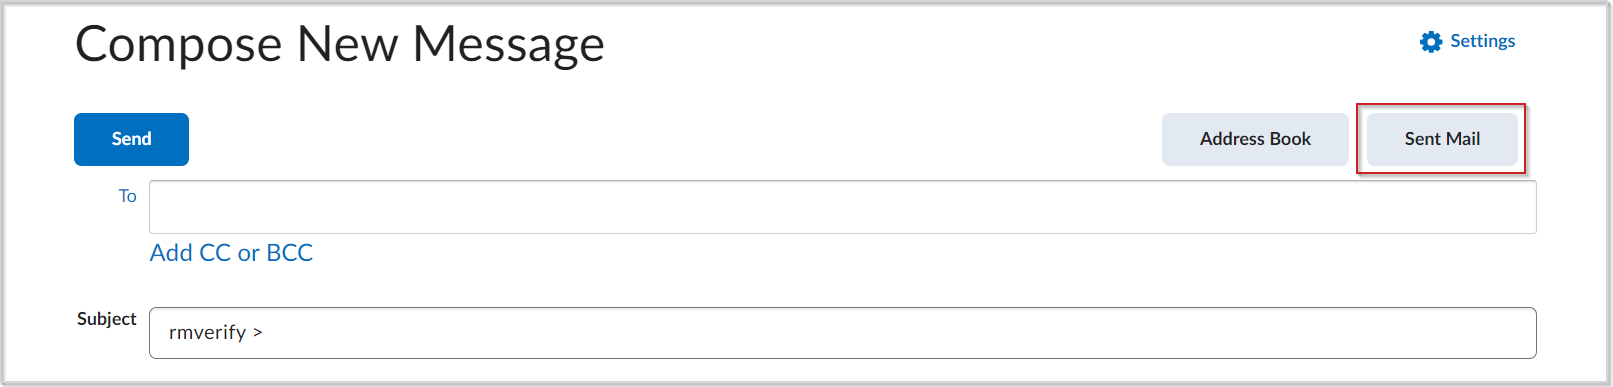
- You can now view your sent emails.
Can I download and print my emails?
If you have the Brightspace Inbox enabled, individual emails can be printed by selecting More Options > Print within the message view. If you use send-only email (Inbox disabled), you can print a sent message using your browser’s print feature.
What is the purpose of the BCC default behavior when emailing multiple users in Brightspace, and what privacy risks are associated with using the TO or CC fields instead?
When emailing multiple users in Brightspace, the system defaults to placing recipients in the BCC (Blind Carbon Copy) field (depending on the EmailSelectedRecipientsInBcc configuration variable).
This default behavior protects learner privacy. Using the TO or CC fields makes all recipient names and email addresses visible to others, which may expose personally identifiable information (PII).
Using BCC ensures that each recipient sees only their own email address and helps prevent accidental Reply All disclosures. For this reason, BCC is the safest and recommended method when emailing an entire class or group.