Add a release condition in the New Content Experience
- Navigate to Content.
- In the module where you want to add release conditions, do one of the following:
- Click Options (...) > Edit. Expand the Availability Dates & Conditions section, click the Add Release Condition drop-down. Select Create New or Add Existing.
- Figure: Click the Add Release Condition drop-down to open the Release Conditions dialog.
- Click Options (...) > View Release Conditions.
- Figure: Click View Release Conditions from the Options (...) drop-down menu.
- In the Release Conditions dialog, do one of the following:
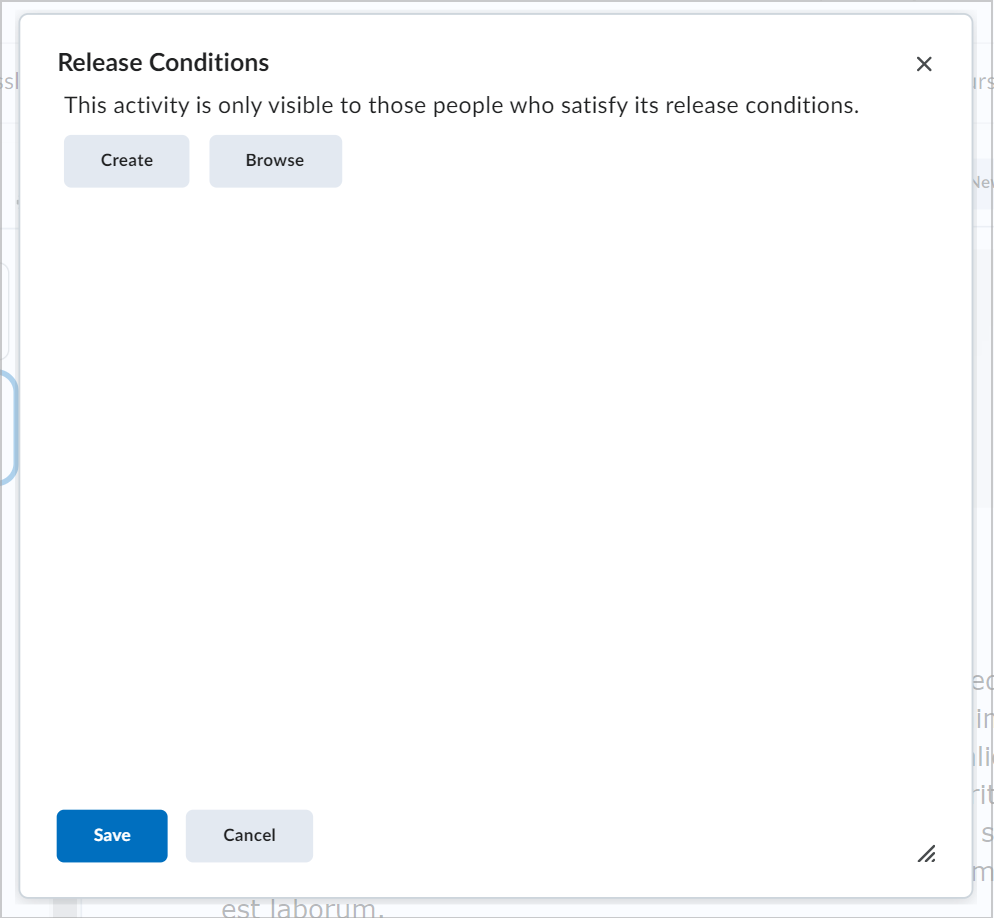
Figure: The Release Conditions dialog showing the Create and Browse options.
- Click Browse to search for existing release conditions. Select the release conditions you want to add and then click Attach.
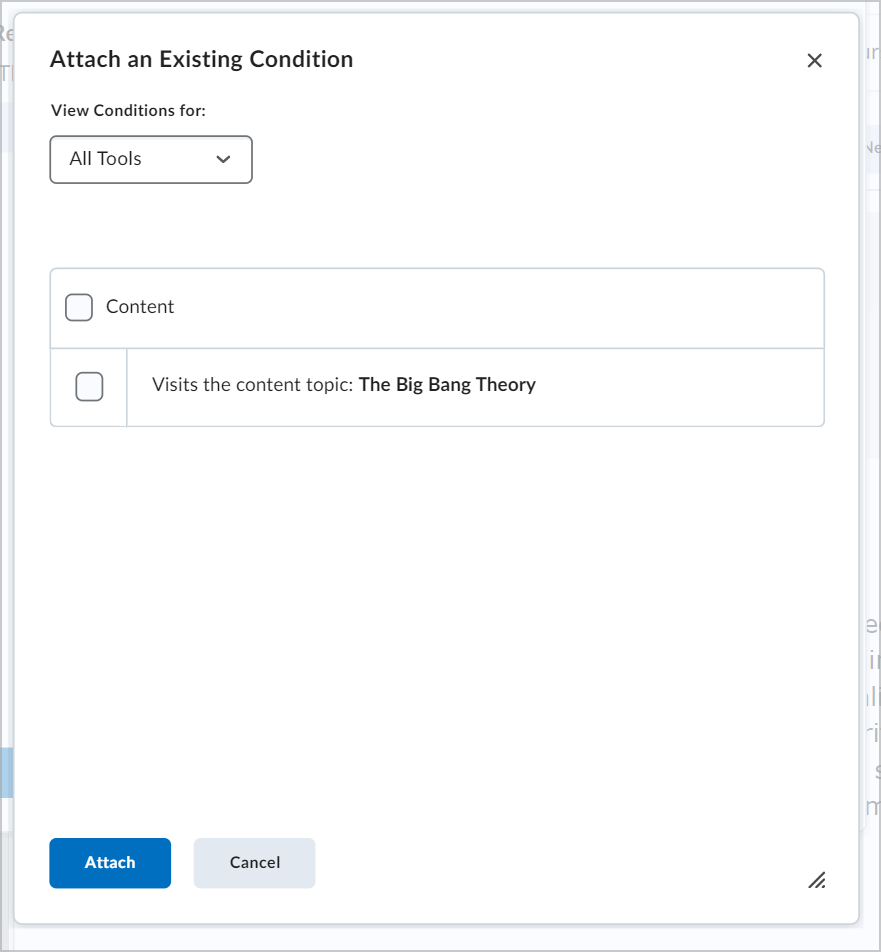
Figure: The Attach an Existing Condition dialog.
- Click Create to create a new release condition. Choose a Condition Type and enter the appropriate details. Then, click Create.
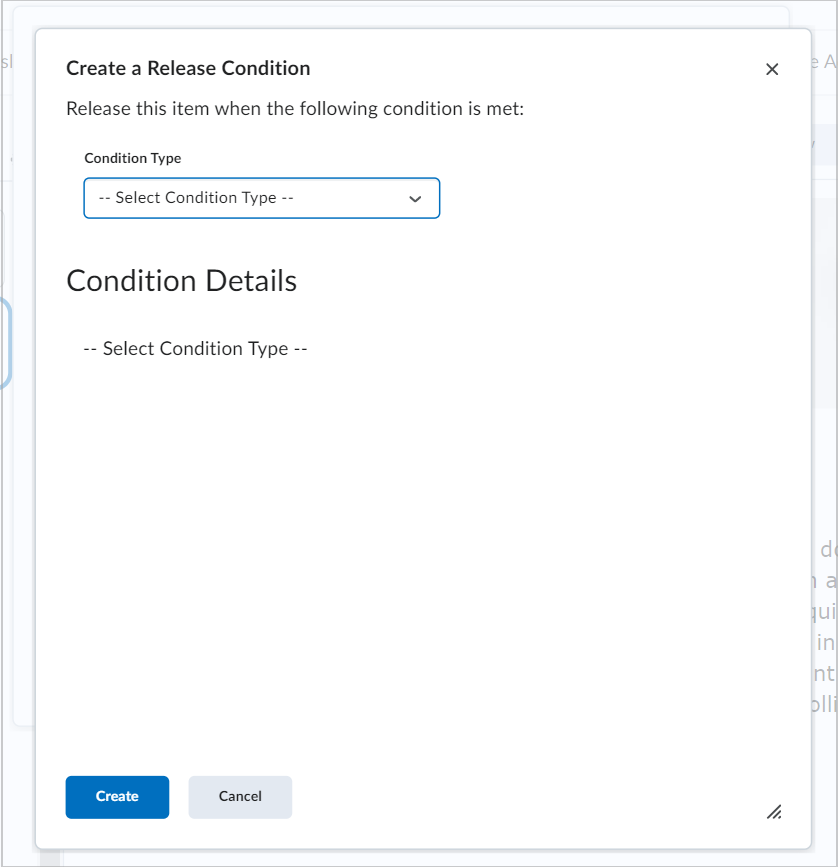
Figure: The Create a Release Condition dialog.
- Click Save or Save and Close.
Add a release condition in the Classic Content Experience
- On the course navbar, click Content.
- In the Table of Contents, locate the content item you want to have a release condition.
- Open the context menu, and select Edit Properties In-place.
- Click Add dates and restrictions…, and under Release Conditions click Create.
- From the Condition Type menu, select the condition you want to create.
- Add Condition Details, and click Create.
- Click Update to save your changes. The release condition details are now listed below the topic name.